Setup calendar synchronisation between VRBO and iCalSync.io
Follow these steps to synchronise your iCalendar with VRBO (HomeAway).
Import iCalSync.io iCal To VRBO
- Login to VRBO.com.
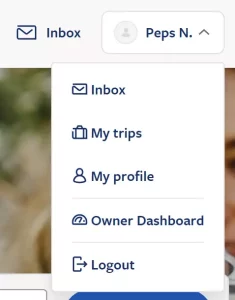
- Select “Owner Dashboard” from the menu. (See image STEP 1 below)
- Optional: in case you have multiple listings, select the correct one.
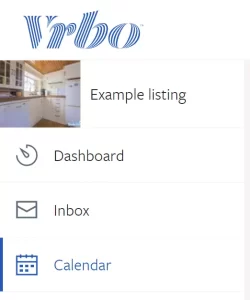
- Select “Calendar” from the left menu. (See image STEP 2 below)
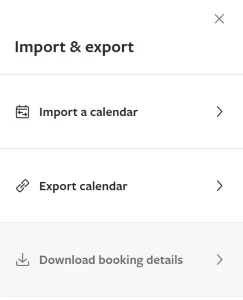
- Select “Import & Export” from the menu above the calendar. (See image STEP 3 below)
- Click “Import a calendar” from the menu on the right of the page. (See image STEP 4 below)
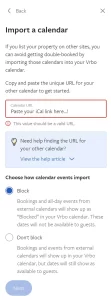
- In the “Calendar URL” field, paste our iCalSync.io export link in this field. (See image STEP 5 below)
- Select “Block” in the “Choose how calendar events import” section.
- Click “Next”.
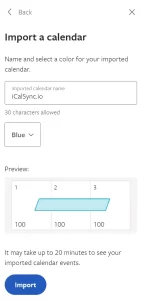
- Give your iCalendar a name, like: “iCalSync.io”. (See image STEP 6 below)
- Select your favourite color from the limited options.
- Click “Import”.
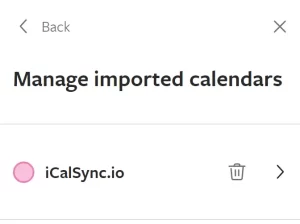
- You’ll see the imported calendar. (See image STEP 7 below)
Export VRBO iCal to iCalSync.io
- Follow steps 1 – 5 above. Or go back to the “Import & export” menu overview on the right side. (See image STEP 3 below)
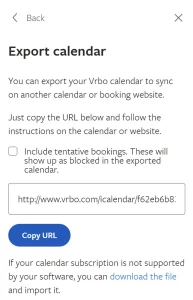
- Click “Export calendar” from the menu on the right of the page. (See image STEP 4 below)
- Decide if you want to export ‘tentative booking requests’ to external calendars. It is more friendly for your guests to do so. (See image STEP 8 below)
- Click “Copy URL”.
- Go to XXXXXXXX on your dashboard.
- Paste the copied link.
- Save!
You are now all set. Calendar synchronisation with VRBO has been set successfully.